
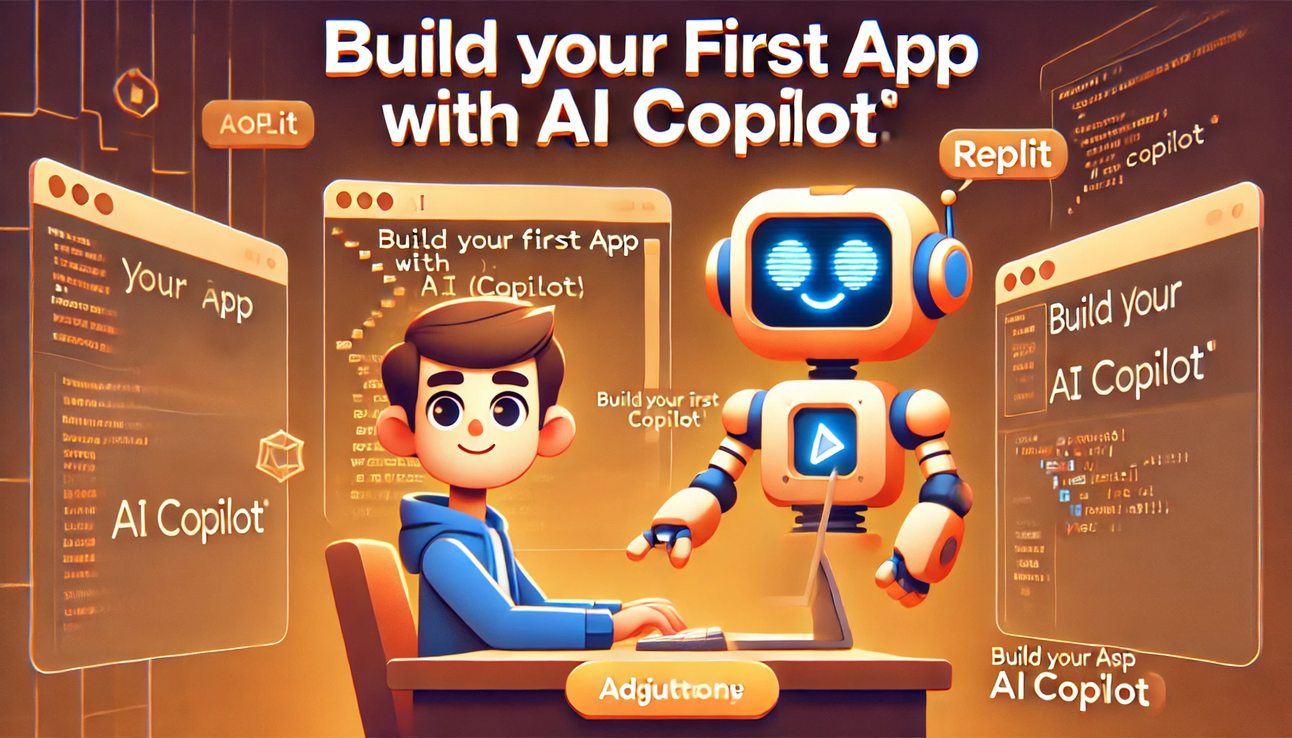
Learn how to use Replit’s AI Copilot to create and run your first app effortlessly. Perfect for beginners and non-coders, this guide will help you get started!
Do you believe AI will render traditional coding skills obsolete, as advocated by Nvidia CEO Jensen Huang?Nvidia CEO Jensen Huang predicts a future where AI automates coding tasks, reshaping skill requirements. This raises questions about the future of software development and the importance of traditional coding skills. Share your perspective on this.
|
Table of Contents
Introduction
Learning to code can seem really challenging, especially if you’ve never done it before. It often requires hours of effort and a lot of trial and error to get even simple programs working correctly.
But now, with Replit’s AI copilot, even beginners and non-coders can create their first app easily. This guide will walk you through each step, showing you how to use Replit’s built-in AI to generate and run your code. By the end, you’ll see how simple coding can be with the right tools.
Let’s get started to jump in!
I. Getting Started with Replit
1. Creating a Replit Account
Getting started with Replit is easy and straightforward. Follow these steps to create your account and begin your coding journey.
-
Visit the Replit Website: Open your web browser and go to Replit. You’ll see the homepage with options to explore, but our goal is to sign up for a new account.

-
Sign Up for a Free Account: Click on the “Sign Up” button, you can use your email address, Google account, or GitHub account to register.

-
Fill in Your Details and Choose a Plan: Fill in some details like your name and username. Replit offers a Free plan that gives you access to most features. This is great for beginners.


-
Verify Your Email: If you signed up with your email address, Replit will send a verification email to confirm your account. Open your email inbox, find the email from Replit, and click on the verification link inside.
2. Exploring the Dashboard
After logging in, you’ll be taken to the Replit dashboard. It is like your control center, where you create, manage, and access all your coding projects.
Take a moment to look around. You’ll see buttons for creating new projects, accessing existing ones, and exploring community projects. Let’s explore the main features of the dashboard so you know where everything is.
-
Search bar: At the top of the dashboard, you’ll see a search bar, which is useful for quickly finding projects or exploring new ones.

-
Sidebar: On the left side of the dashboard, there’s a sidebar with several important buttons.
-
Create Repl: This button is at the top and is where you’ll go to start a new project. We’ll cover this in detail later.
-
Repls: Clicking this will show you a list of all the projects you’ve created. It’s like a folder with all your work.
-
Teams: If you’re working with others, this section lets you create or join teams to collaborate on projects.

-
-
Templates: These are pre-made setups for different types of projects. For example, you might find templates for creating a website, a Python script, or even a game.

-
Extensions: Extensions provide extra functionality like connecting to databases, adding new coding languages, or integrating other tools.

-
Learn: Here, you can find tutorials, coding challenges, and courses designed to help you improve your coding skills. This is a great place to start if you’re new to coding or want to learn more advanced topics.

Now that your account is set up and you’re familiar with the dashboard, you’re ready to start your first coding project. In the next section, we’ll walk through creating your first project in Replit and using the AI copilot to help you write code.
Learn How to Make AI Work For You!
Transform your AI skills with the AI Fire Academy Premium Plan – FREE for 14 days! Gain instant access to 100+ AI workflows, advanced tutorials, exclusive case studies, and unbeatable discounts. No risks, cancel anytime.
II. Step-by-Step Guide to Coding Your First App with AI Copilot
Creating your first project in Replit is an exciting step. Let’s go through the process of setting up a new project and generating code with the AI copilot.
1. Creating Your First Project in Replit
-
Click “Create Repl” and Choose Python:
-
Click the “Create Repl” button. Replit uses the term “repl” to mean a project or app. So, when you create a repl, you’re starting a new coding project.
-
Replit supports many coding languages, but for beginners, Python is a great choice. It’s easy to learn and understand.

-
Give your project a name, like “My First App.” By default, your project will be public, meaning everyone can access it.
-
-
Explore the Project Interface: Once your project is created, you’ll be taken to the main workspace. This is where you’ll write and run your code
-
Main Coding Area: The central panel is where you’ll write your code. By default, it opens a file named
main.py.

-
Run Button: At the top of the screen, there’s a green “Run” button. Clicking this will execute your code and show the output.

-
Sidebar: This is where Packages, Debugger, Chat, Git, and more can be found. You can drag and drop any file or tool. All tools open as tabs instead of opening in the sidebar.

-
Alright, you now know your way around the project interface, you’re ready to use the AI copilot to help you write your first code.
2. Generating Code with AI Copilot
With your project set up, it’s time to use the AI copilot to write some code. This part will show you how to open the AI prompt and generate a simple script.
-
Opening the AI Prompt:
-
To get the AI’s help, press Command+I (if you’re using a Mac) or Ctrl+I (if you’re using a Win) to open the AI prompt input. This is where you tell the AI what you want it to code.

-
-
Writing a Prompt:
-
Let’s start with something simple. Type: “Please write me a script that asks for an input sentence in the console and returns a letter and word count.”

-
If you’re on the Free plan, the AI uses ChatGPT 3.5 (Basic mode). The Core plan uses ChatGPT 4.0 (Advanced mode), which is more powerful and accurate. But for our example, Basic mode is enough.
-
-
Reviewing and Accepting the Code:
-
Click the purple arrow at the bottom right to let the AI write your code.
-
Watch as the AI generates the code in real-time. It’s like magic!

-
You can review the code. If you’re happy with it, click accept. If not, you can reject and try a different prompt.
-
By following these steps, you can easily generate useful code snippets with the help of Replit’s AI copilot. This tool simplifies the coding process, especially for beginners, by providing instant code generation based on your instructions.
3. Running the Code
Now that you have your code, it’s time to see it in action. Running your code is simple and lets you interact with your app directly. Here’s how to do it:
-
Executing the Code:
-
Once your code is ready in the
main.pyfile, you need to run it to see if it works as expected. Click the green “Run” button at the top. -
The console on the right side of the screen will come to life and ask you to enter a sentence. The console is where you interact with your app by typing and reading text.
-
-
Interacting with Your Code:
-
You’ll see a prompt in the console that says something like “Enter a sentence:”. This is the code asking you for input.

-
Type a simple sentence (for example, “AI Fire is a top list place to explore the AI World”) and it will quickly show you the number of letters and words in your sentence. It’s like having a super-smart calculator that can read sentences.

-
-
Additional tips:
-
If the code doesn’t run as expected or you see an error message in the console, you might need to debug it.
-
The console will usually give you hints about what went wrong. For example, if there’s a syntax error, it will point to the line and the type of error.
-
You can go back to the
main.pyfile, make the necessary corrections, and click the “Run” button again to test the updated code.
-
4. Understanding the Code with AI
To truly learn coding, it’s important to understand what each line of code does. Here’s how you can use the AI to explain the code to you.
-
Using the “Explain with AI” button:
-
To understand what your code does, go back to the code panel.
-
Highlight the lines of code you’re curious about and click the “Explain with AI” button.

-
The AI will give you a detailed explanation of each part. It’s like having a teacher who’s always there to help.

-
-
Asking Follow-Up Questions:
-
If you have more questions, you can keep chatting with the AI. It can explain things further until you understand completely.
-
For example, you might ask, “What does the
split()method do exactly?” or “How does the generator expression work in Python?”
-
-
Applying What You Learned:
-
Use the explanations and follow-up questions to deepen your understanding of the code. The more you ask, the more you’ll learn.
-
After understanding the code, try applying what you’ve learned by writing similar code yourself or modifying the existing code.
-
By using Replit’s AI copilot to understand your code, you can gain deeper insights into how your code works, learn new programming concepts, and improve your coding skills. This feature acts like a personal tutor, making it easier to grasp complex ideas and become a better programmer.
5. Editing Code with AI Copilot
Sometimes you might need to change or improve your code, or just simply want to add new features or fix issues. The AI copilot can help you make these edits easily. Here’s how to use it:
-
Modifying Code:
-
Highlight the part of the code you want to edit and click “Modify with AI” button. This will prompt the AI to generate a modification based on your instructions.
-
Provide a prompt explaining what you want to change.
-
-
Providing a Prompt for the AI:
-
A prompt input window will appear, asking you to describe the changes you want to make.
-
Type a clear and specific prompt. For example, you could write: “Modify this code to also count the number of vowels in the sentence.”

-
-
Reviewing the Modified Code:
-
The AI will show the new code (highlighted in green) and what it’s replacing (highlighted in red).
-
Carefully review the new code provided by the AI. Make sure it accomplishes what you wanted.

-
-
Testing the Modified Code:
-
After reviewing the modified code, click the green “Run” button to execute it. Enter a test sentence in the console to see if the new code works as expected.
-
If the modified code doesn’t work as expected or if further changes are needed, you can repeat the process until the code meets your needs.
-
The AI copilot’s editing capabilities empower you to make precise changes and enhancements to your code, fostering a hands-on learning environment where you can see the direct impact of your modifications.
Conclusion
Replit’s AI copilot makes coding easy and fun, even if you’re just starting out. Imagine having a friendly guide by your side, helping you understand and write code step by step, with Replit, you can quickly set up your account and start your first project.
Now you can see running your code is like pressing play on a video to see how everything works. You get instant feedback, which helps you learn faster and fix any mistakes right away. If something doesn’t work, the AI is there to help you understand and edit the code, kind of like having a tutor who’s always available.
Using Replit is like having a full toolkit that grows with you as you learn. You start with the basics, but as you get more comfortable, you can explore more advanced features and projects.
So, dive in, experiment, and enjoy the process. Coding with Replit’s AI copilot can be an exciting journey where you learn by doing, make mistakes, fix them, and keep improving!!!
If you are interested in other topics and how AI is transforming different aspects of our lives, or even in making money using AI with more detailed, step-by-step guidance, you can find our other articles here:
-
20 AI Startups Raise over $1.1B (July 12, 2024 – July 19 2024)*
-
Claude vs ChatGPT: A Detailed Review of Which AI Assistant is Better and Why It Matters
-
Automatically Create the Perfect Design Brief in Just Minutes Using ChatGPT*
-
Discover How to Create Stunning AI Images Without Any Coding – A Simple Guide for Everyone*
-
Boost Your Study Game with These Top AI Tools for Students in 2024
*indicates a premium content, if any
Overall, how would you rate the AI Fire 101 Series? |
Leave a Reply